Capitol Armory ad

Making my own parts.

The #1 community for Gun Owners in Texas

Member Benefits:

  • Fewer Ads!
  • Discuss all aspects of firearm ownership
  • Discuss anti-gun legislation
  • Buy, sell, and trade in the classified section
  • Chat with Local gun shops, ranges, trainers & other businesses
  • Discover free outdoor shooting areas
  • View up to date on firearm-related events
  • Share photos & video with other members
  • ...and so much more!
  • Gordo

    Well-Known
    Rating - 0%
    0   0   0
    Mar 16, 2023
    1,250
    96
    San Antonio
    I want them MY way...

    Always have, always will.

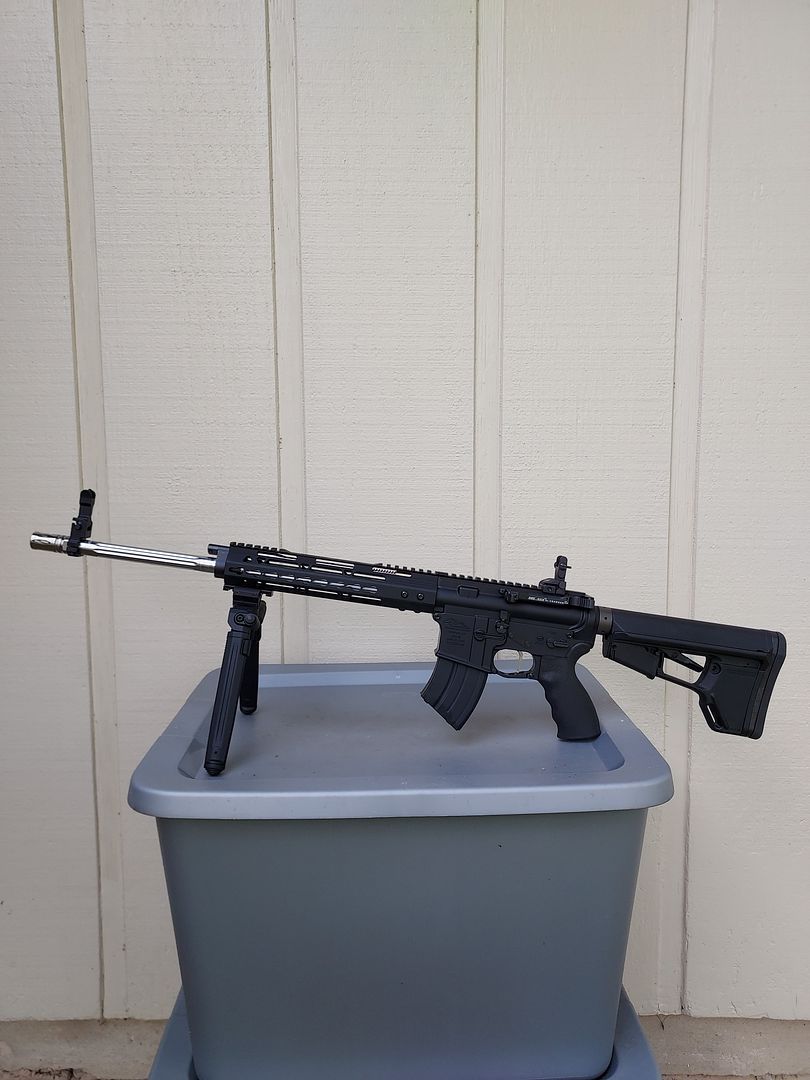
    While tuning a few AR builds, got tired of not finding buffers that I liked.
    Things like anti-tilt in a required weight range, or easily changing weights, or coatings I wanted.

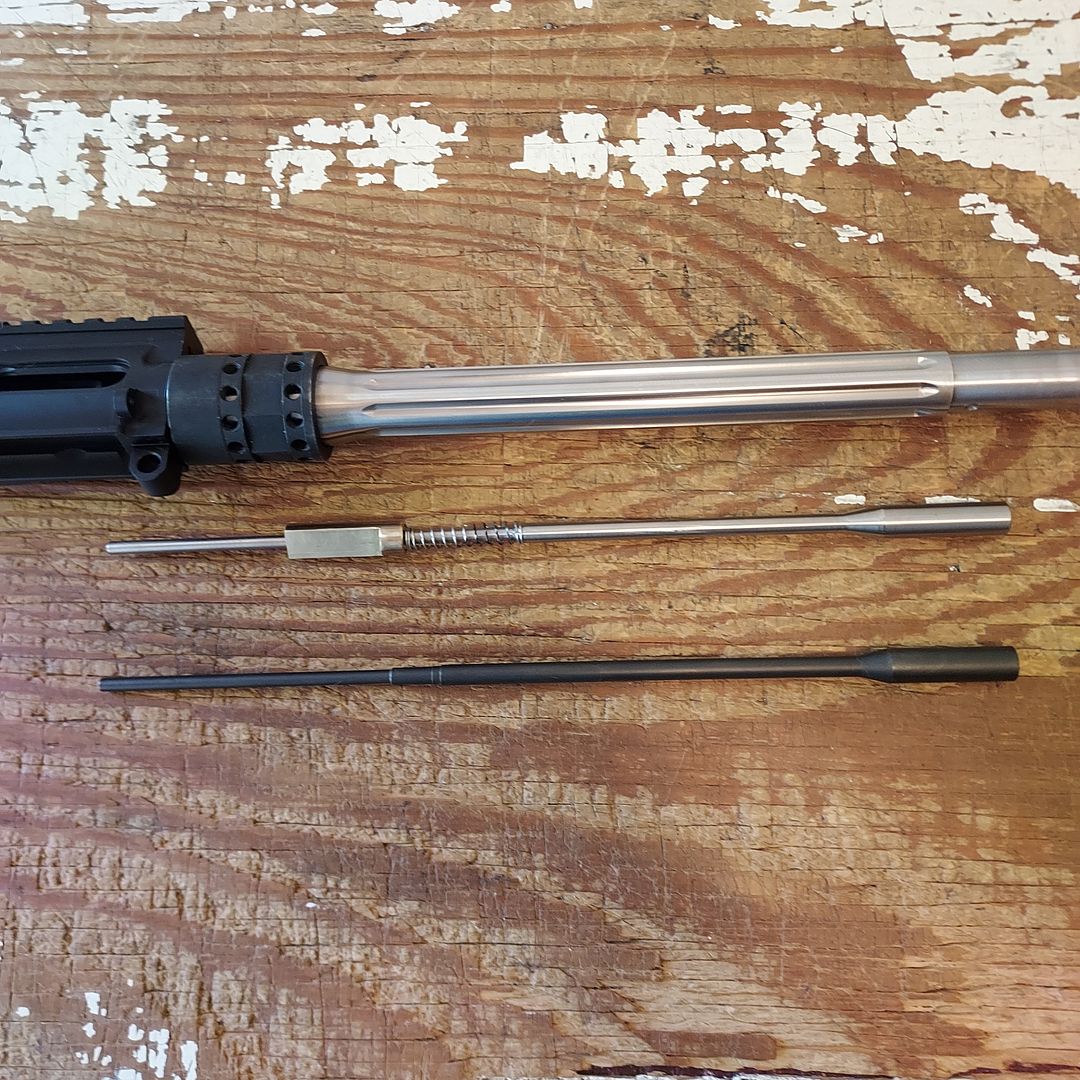
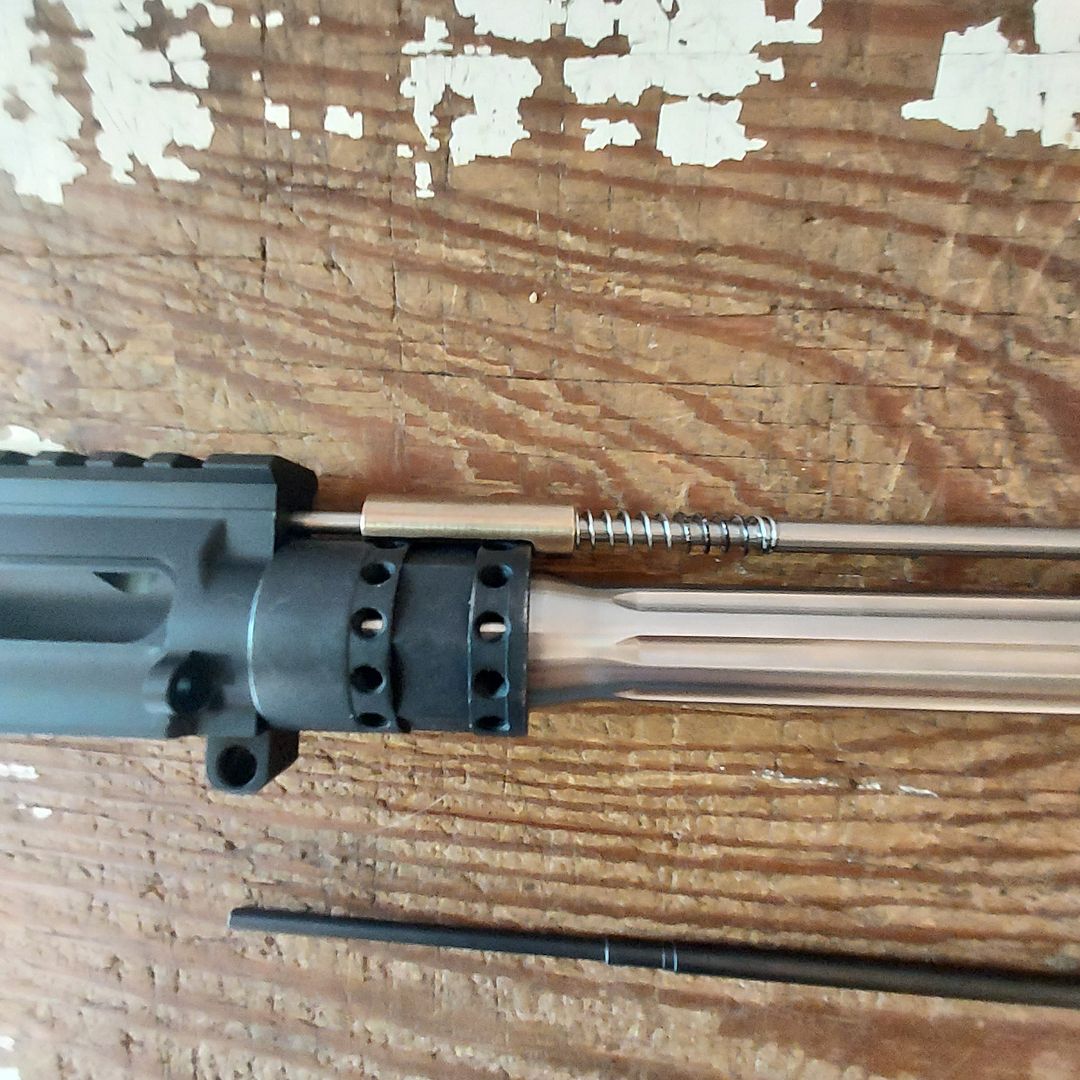
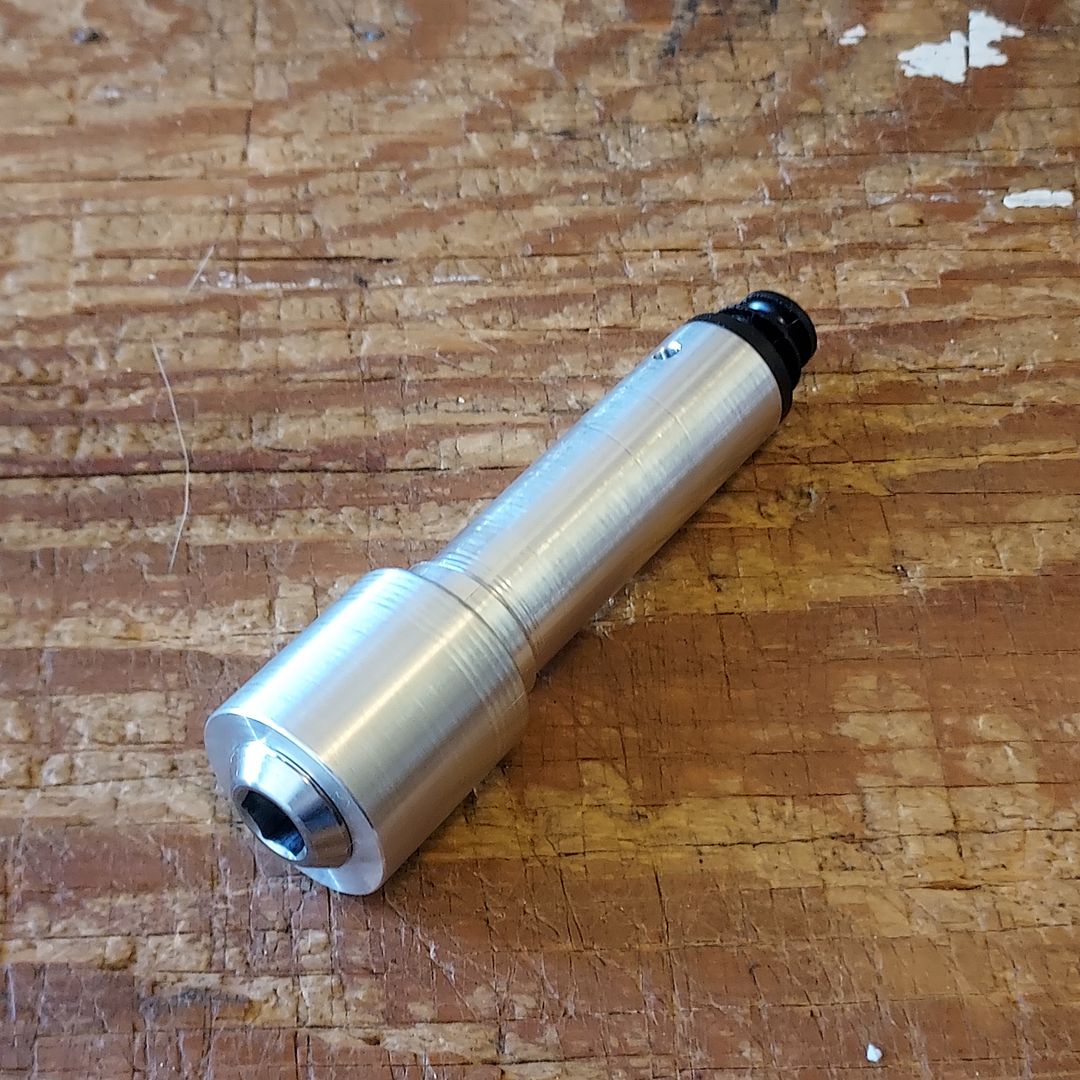
    Here are the latest batch:

    20230307_195510.jpg


    20230304_134602.jpg


    20230304_134450_fSjv7L3SxmdFGA8GWoCyv8.jpg


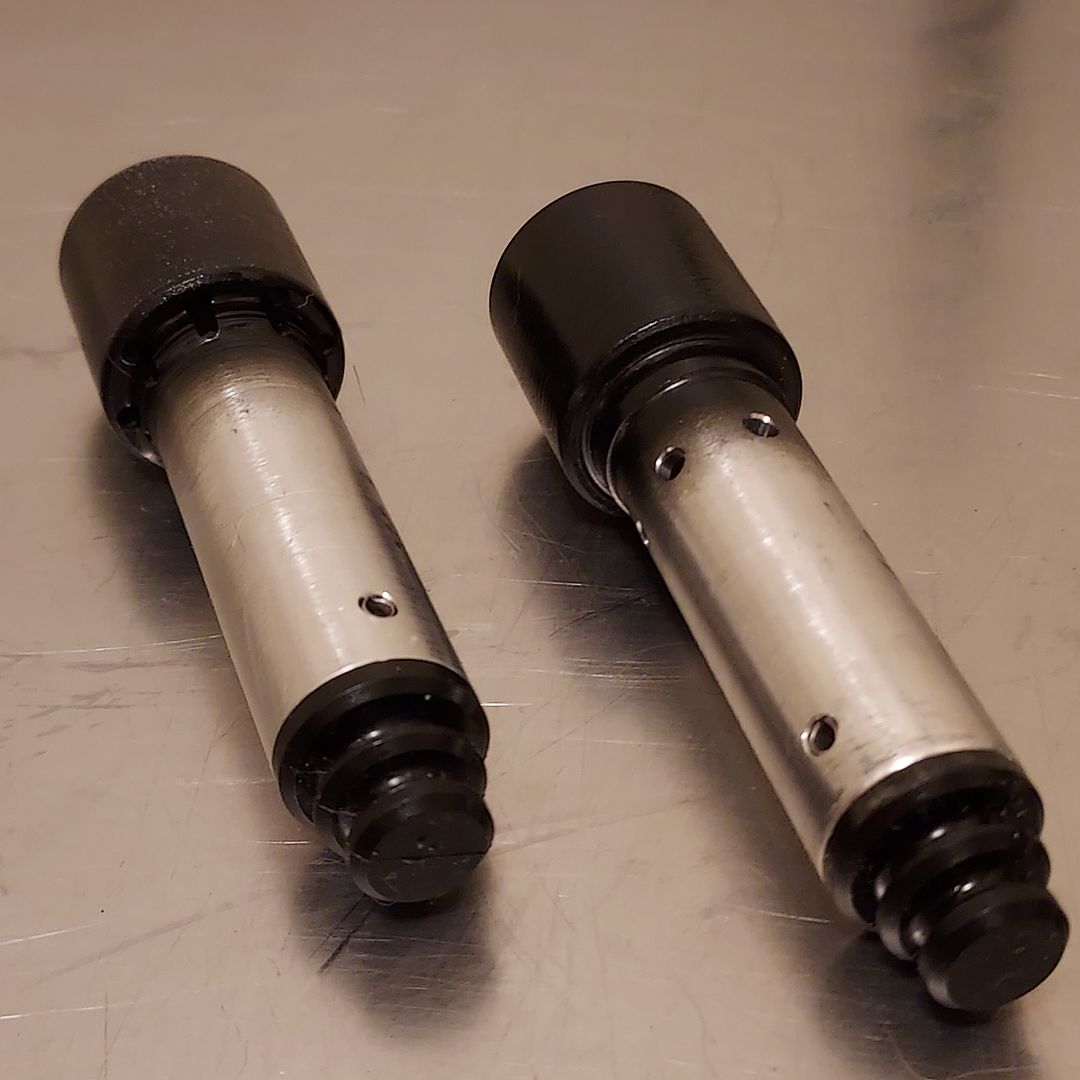
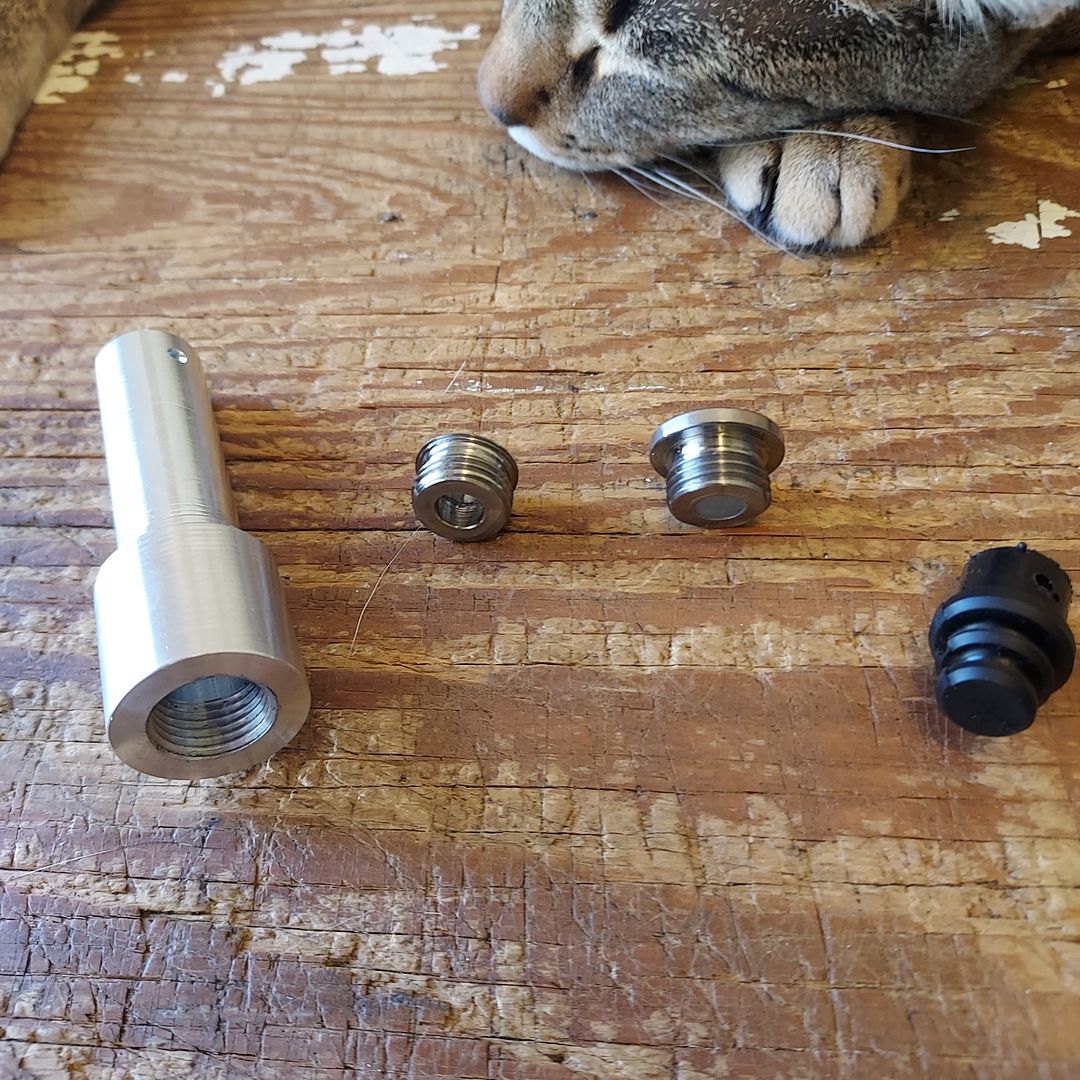
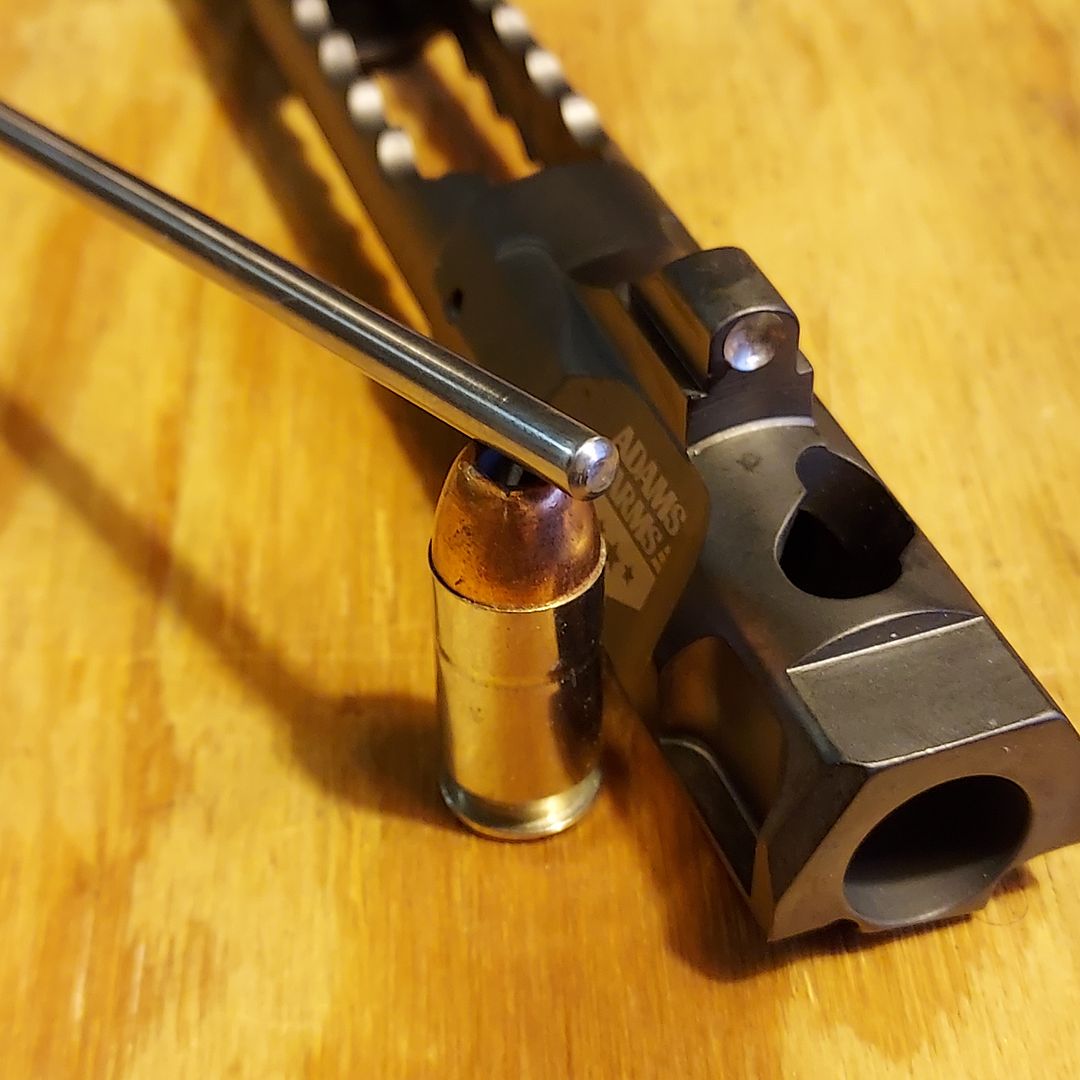
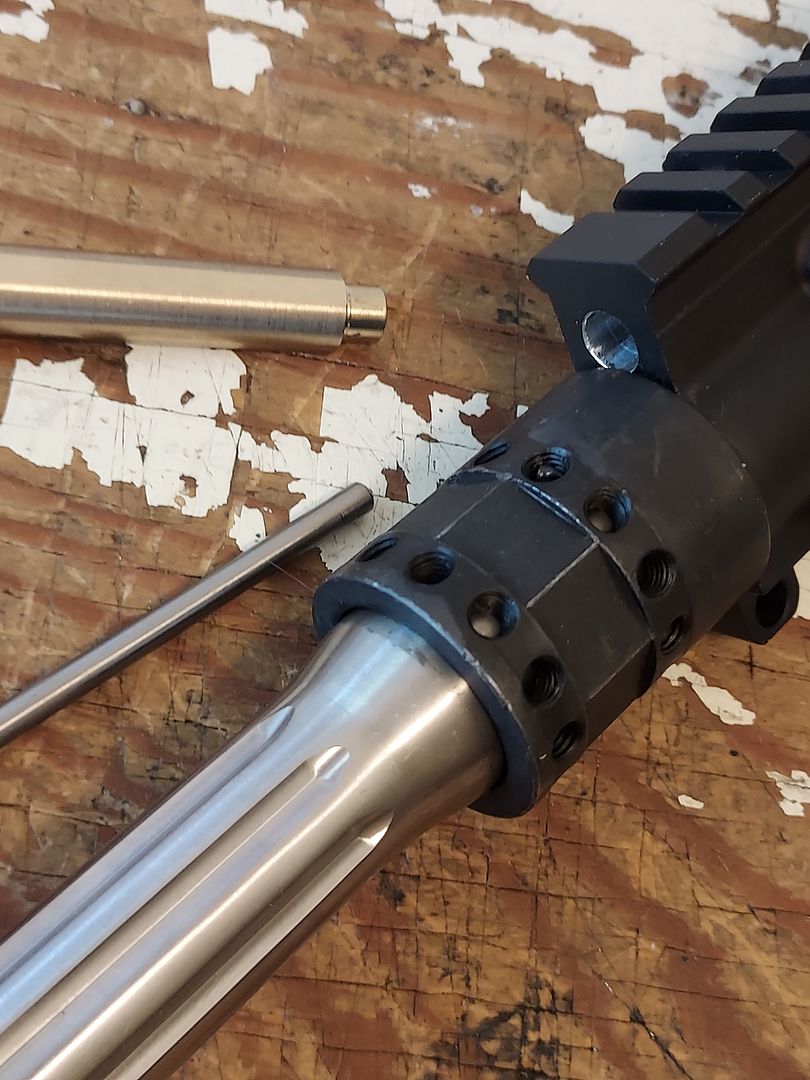
    The anti-tilt is done by using a modified titanium drain plug that engages the rear of the bolt carrier, but does not require both assembly pins to be removed to open the receiver.
    Thread size allows changing weights without removing the roll pin that holds the buffer tip in.
    When machining is done, wear surfaces get coated with KG Gunkote.

    And as you can see, one of my shop helpers is sleeping on the job...
    Guns International
     

    Gordo

    Well-Known
    Rating - 0%
    0   0   0
    Mar 16, 2023
    1,250
    96
    San Antonio
    The past 3 day I've been making a titanium op-rod for an AR15 7.62x39 piston operated build.
    Using an Adams Arms piston kit, but damn, their steel op-rods are heavy!
    This is a mid length, 18" barrel gun.
    Their's weigh 2.2 ounces, Titanium is 1.15 oz.

    Did the same for my .45 acp PCC when I built it, and it runs great.

    20230505_152552.jpg


    Also, Adams use a short spring cup that sits on a mil-spec barrel nut.
    I'm using a nut from a slim FF tube, so their cup wouldn't work, so made one out of bearing bronze that sandwiches between the nut, and the top of the tube.
    20230505_152616.jpg
     
    Last edited:

    Gordo

    Well-Known
    Rating - 0%
    0   0   0
    Mar 16, 2023
    1,250
    96
    San Antonio
    Yesterday/today finished final fitting of the new op-rod.
    Adams recommends about the thickness of a business card of free play on the op-rod, I normally equate that with .020".
    And on all of these I make, the bolt end is balled, and the bolt is dimpled, so there is no chance of the rod ever bending off to one side, locking everything up.
    Not an issue with their hardened steel rod, but titanium isn't that hard.

    20230507_052028.jpg
     

    Gordo

    Well-Known
    Rating - 0%
    0   0   0
    Mar 16, 2023
    1,250
    96
    San Antonio
    After making the bronze spring seat above, I started thinking that it could be more than just a spring piece.
    Why not extend it all the way into the receiver, and have it also support the op-rod?

    Here is why, That hole in the front of the receiver was not designed to have a piece sliding hack, and forth inside of it, it was just to support the gas tube. It is clover leaf shaped to also vent some of the gas that leaks by the gas key while cycling.

    But on a piston driven system, there is no gas going to the bolt via the gas key,
    and these 4 little tips that were only meant to support a non-moving part are 1) aluminum, and 2) hard anodized.
    Not the best bearing surface, even with Adam's original harden steel, and nitrided op-rod, and even worse with a titanium rod.
    Titanium likes to gall with any other metal, and especially a hard anodized surface, with minimal contact surface.

    So, I made the 'spring seat' longer, and actually extend into the receiver, thus removing the little clover leaf hole, and increasing the contact area.

    20230524_160637.jpg


    20230524_160706.jpg


    20230524_160821.jpg


    Just waiting for the correct crowfoot to come in, so I can bed the barrel, and time the barrel nut.

    The lower is ready to go. Will get pictures of that up soon.
     

    Gordo

    Well-Known
    Rating - 0%
    0   0   0
    Mar 16, 2023
    1,250
    96
    San Antonio
    One of the things I never liked about the AR was the use of roll pins.
    Then someone came out with the screw-in bolt release pin.
    Found that Aero sold them, and bought a few, then tracked down both an aircraft length dill, and tap because standards were next to impossible, but the aircraft tools are around 6" long, and quite easy to use.

    The CNC Grease Gun lower uses a completely different mag catch that is on the right side. But it didn't take much time to find a long set screw, turn most of it down to act as the pin body, and tap the receiver.

    Then I seen reference to people doing the same for the forward assist retention roll pin.
    Yesterday I ordered a small bag of 4-40 x 5/8" long set screws, as the hole in the receiver for that pin was nearly perfect to tap to 4-40, Today they hit the door (McMaster-Carr is super quick on shipping).
    Took one, machined off all but .150" O.D. the threads, down to .093".
    Just finished that conversion today.

    20230525_165639.jpg


    20230525_170019.jpg


    Oh, Damn-it!
    Look there, another roll pin holding the forward assist assembly together...
    Well, looks like another mini project...
     

    Gordo

    Well-Known
    Rating - 0%
    0   0   0
    Mar 16, 2023
    1,250
    96
    San Antonio
    Just personal choice.
    Since I am constantly playing with these things, examining, cleaning, changing, I prefer to use a wrench to disassemble/assemble rather than using a punch.
    With my shaking fingers, punches & ! don't get along too well.
    icon_smile_wink.gif

    Might try making a different style button for the forward assist.
     

    Gordo

    Well-Known
    Rating - 0%
    0   0   0
    Mar 16, 2023
    1,250
    96
    San Antonio
    Yup, have done the same.
    Different on an Armalite AR10, that spring & detent go in from the bottom, and secured by the grip.
     
    Last edited:

    Gordo

    Well-Known
    Rating - 0%
    0   0   0
    Mar 16, 2023
    1,250
    96
    San Antonio
    Well, the 7.62x39 AR is finished, just need range time to break in the barrel, and dial the sights & scope in.
    20230613_165723.jpg


    X-caliber 18" mid-length barrel
    Anderson lower
    A5 buffer tube
    Strike Flat Wire buffer spring
    Willow Defense upper
    TriggerTech trigger
    Adams mid-length piston kit, with my Titanium op-rod.
    Smith Tactics side charge handle
    My anti-tilt buffer (3.5 oz for now, can always add more tungsten)
    ADE Super Slim hand guard
    Magpul ACS stock, and polymer port door.
    MI rear sight with Yankee Hill front gas block sight, that the gas block portion was cut off.


    I didn't make this, but am always a sucker for new ideas.
    A KNS front cross hair sight post.
    20230613_165758.jpg

    Not sure how much I like this.
    Two issues:
    First, none of my front sight tools fit it, so I will need to make one.
    Second, the outer ring is quite thick, and takes up a lot of the area right around target.
    But with even my eyes, the cross hairs are sharp, and clear.
     

    Gordo

    Well-Known
    Rating - 0%
    0   0   0
    Mar 16, 2023
    1,250
    96
    San Antonio
    Thanks.
    I have always felt naked without machine tools in my garage if I wasn't working at a machine shop.
    Kind of like having a car, just something that I have become accustomed to.
    Bought my first lathe when I was about 20.
     

    Gordo

    Well-Known
    Rating - 0%
    0   0   0
    Mar 16, 2023
    1,250
    96
    San Antonio
    Took the 7.62x39 AR out to Lonestar range this week to start the barrel break-in.
    Had a minor issue, the extractor wouldn't let go of the fired case.
    It was holding the rim so tight that the case wouldn't even swing out far enough to get caught in the ejection port.
    Had to pop them off the extractor by hand.
    Didn't know at the time if it was due to the new style Colt extractor spring, or what. It is quite stiff.
    But I was just shooting it for break-in, one shot, clean the bore, and repeat. A pain in the butt.
    Started to rain, so packed up and left.

    Once home, started looking at the empty cases, and seen that the extractor was putting small gouges in the rim when I pulled them by hand, but just at the upper, and lower edges of the extractor.
    Stoned a little taper on those edges only, and now it ejects just fine, so next time out I can get back to break-in.

    Not sure if I like that crosshair front sight or not yet.
     
    Every Day Man
    Tyrant

    Support

    Forum statistics

    Threads
    116,537
    Messages
    2,967,685
    Members
    35,093
    Latest member
    Busy rookies
    Top Bottom